
Snow Cream Recipe: 5 Easy Steps to a Frosty Treat
Make winter wonderland moments into a creamy dessert with this snow cream recipe. It mixes fresh snow with milk, sugar, and vanilla. This treat is as fun to make as it is delicious.
It’s perfect for snowy days and only needs five steps. No baking skills are required! Gather your supplies and let’s turn snow into a creamy, chilly delight that everyone will love.
Table of Contents
What is Snow Cream and Why It’s a Winter Favorite
Snow cream is a frozen treat made from fresh snow, milk, sugar, and vanilla. It’s a traditional snow cream recipe that dates back to the 1800s. It’s a favorite in winter because it uses snow as the main ingredient.
The History of Snow Cream in American Culture
This dessert started in the 19th century and brought joy to winter. Families would quickly gather snow after a storm. They mixed it with basic ingredients, creating a beloved tradition.
Regional Variations Across the United States
- Southern style: Uses sweetened condensed milk for a creamy, sweet base.
- Midwestern twist: Often adds chocolate syrup or sprinkles.
- Appalachian take: Some add cinnamon or nutmeg for warmth.
Why Kids and Adults Both Love This Frozen Treat
Kids love it because it’s an adventure. They get to gather snow. Adults enjoy it for its nostalgic feel, reminding them of their childhood.
The traditional snow cream recipe is special. It has a texture that store-bought ice cream can’t match. It’s a treat that celebrates winter, making every bite a memory.
Safety First: Collecting Clean Snow for Your Recipe
It’s important to make sure the snow you use is safe for homemade snow cream. Follow these steps to collect and store snow correctly. This way, your dessert will be both delicious and safe.
How to Identify Safe Snow for Consumption
Look for snow that hasn’t been touched by traffic, animals, or pollution. The best snow is fresh and has no dirt, leaves, or dark spots. Stay away from snow near roads, as it might have salt or exhaust fumes.
Test a small sample by melting it. If it smells bad or has particles, throw it away.
Best Times and Places to Collect Snow
- Collect snow during light, steady falls when it’s been on the ground less than an hour.
- Opt for open spaces like parks or rural areas, far from traffic and trees.
- Use clean buckets or bags, and wear gloves to avoid contamination.
Storage Tips for Collected Snow
Store snow in airtight containers at 0°F (-18°C) or colder. Keep it away from raw foods to prevent odors or bacteria. Use within 3 days for the best taste. Label containers clearly to avoid confusion with other frozen items.
Proper preparation is key to enjoying homemade snow cream worry-free. Make sure to keep the snow clean from start to finish.
Essential Ingredients for a Classic Snow Cream Recipe
Every classic snow cream recipe begins with four main ingredients: dairy, sweetener, vanilla, and snow. These elements combine to make the treat light and flavorful.
“The right ingredients turn snow into something extraordinary,” says culinary historian Emma Thompson, noting how traditional recipes emphasize simplicity.
- Milk or cream: Whole milk makes it lighter, while heavy cream adds richness. Pick what you like best.
- Sugar or honey: Sugar lets you control sweetness; honey adds flavor but might make it less light.
- Vanilla extract: Pure extract boosts the snow’s taste without being too strong.
- Fresh, clean snow: This ingredient is key to making it authentic, as covered earlier.
| Sweetener | Flavor | Texture Impact |
|---|---|---|
| Sugar | Crisp, neutral | Maintains lightness |
| Honey | Warm, floral | Slightly thickens the mix |
Adjust the amounts to your liking, but keep the classic snow cream recipe ratio in mind. Always use high-quality vanilla extract for the best taste.
Equipment You’ll Need to Prepare Your Frosty Dessert
Every kitchen has the basics for an easy snow cream recipe. Start by gathering items you probably already own. This makes the process simpler and saves time. These tools help with mixing, measuring, and presenting the dessert in a snowy way.
Basic Kitchen Tools for Snow Cream Making
A large bowl is key for mixing snow and ingredients. Choose plastic or glass to avoid chipping. You’ll also need:
- Measuring cups and spoons for precise ingredient ratios
- A whisk or spatula to blend snow evenly into the base
- Serving dishes like bowls or glasses to keep the dessert cold
- Clean spoons for tasting and portioning
Optional Equipment for Advanced Techniques
For a fancier touch, consider a stand mixer for fluffier mixes or silicone molds for snowflake shapes. An ice cream scoop makes portioning easy, and a thermometer keeps the mix at the perfect temperature. These extras add creativity but aren’t necessary.
Start with what you have. Even without special tools, your easy snow cream recipe will be tasty. Adjust based on your tools and presentation goals.
The Traditional Snow Cream Recipe Step by Step
Turn fresh snow into a sweet treat with this classic method. The traditional snow cream recipe is simple and nostalgic. Follow these steps for a creamy dessert that everyone will love.
Step 1: Gathering Your Ingredients
First, gather your supplies. For the simple snow cream recipe, you’ll need:
- 2 cups freshly fallen, uncontaminated snow
- 1 cup whole milk
- ½ cup granulated sugar
- 1 tsp pure vanilla extract
- A pinch of salt (optional)
Make sure to store the snow in a clean container until you’re ready to use it.
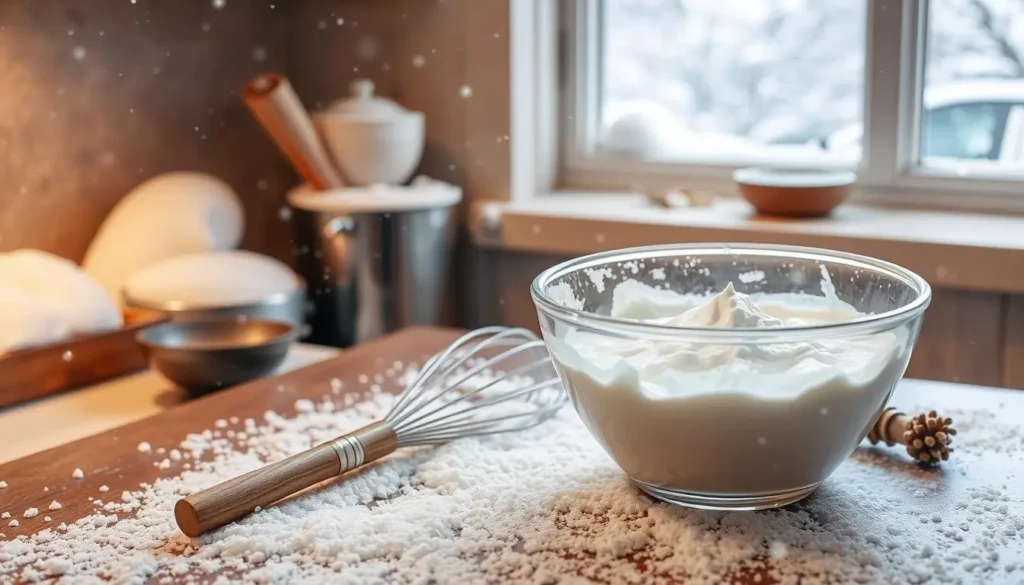
Step 2: Preparing the Base Mixture
In a mixing bowl, whisk together milk, sugar, vanilla, and salt. This makes the base for your snow cream.
Step 3: Incorporating the Snow
Add snow slowly while mixing gently. Use a rubber spatula to fold in the snow without overworking it. You want a light, fluffy texture.
Step 4: Achieving the Perfect Consistency
If it’s too thick, add 1–2 tablespoons of milk. If it’s too runny, mix in an extra ½ cup of snow. Taste and adjust the sweetness as needed.
Step 5: Serving and Enjoying
Serve it right away in chilled bowls. Top with whipped cream or chocolate chips. The traditional snow cream recipe is best enjoyed within 30 minutes of making it.
Pro tip: Use a chilled bowl to keep the snow’s texture.
Quick and Easy Snow Cream Variations for Any Taste
Make your delicious snow cream recipe even better with these easy changes. Want something rich, aromatic, or fruity? These tweaks let you make every bite your own.
Chocolate Snow Cream Recipe
Add 1/4 cup unsweetened cocoa powder or 1/4 cup chocolate syrup to the base before blending in snow. For an even richer taste, mix cocoa with a teaspoon of espresso powder. Top with crushed peppermint or drizzled chocolate sauce.
Vanilla Bean Snow Cream
Use a split vanilla bean instead of vanilla extract. Scrape the seeds into the milk and cream before heating. Then, mix it into the snow. Keep the seeds in for a speckled look and a strong vanilla flavor.
Fruit-Infused Options
- Blend 1/2 cup frozen berries (melted slightly) into the base before adding snow.
- Zest a lemon or orange into the warm milk mixture for citrus brightness.
- Swirl in 2 tablespoons of your favorite fruit preserve after churning for bursts of flavor.
Try mixing flavors like cherry-vanilla or mango-lime to match the season. These delicious snow cream recipe changes work best with fresh, quality ingredients. Adjust the sweetness to your liking and chill well before serving.
Dairy-Free and Vegan Snow Cream Alternatives
Enjoy your favorite winter treat without dairy with these simple swaps. Dairy-free and vegan easy snow cream recipe options let you craft creamy desserts everyone can enjoy. Whether you prefer almond, coconut, or soy-based alternatives, there’s a version perfect for your dietary needs.
Choose between these milk substitutes to match your taste:
- Coconut milk (full-fat for richness, like So Delicious)
- Vanilla-flavored oat milk (try Oatly for a silky texture)
- Soy milk (Silk works well for a classic creaminess)
- Almond milk (unsweetened for a light base)
“When substituting milk, always check the fat content. Higher fat options keep the texture smooth,” says a plant-based chef.
Swap refined sugar with natural options like maple syrup or coconut nectar. For a easy snow cream recipe, blend 2 cups snow, 1 can full-fat coconut milk, ¼ cup maple syrup, and a teaspoon vanilla. Chill until firm—no dairy required!
Adjust ratios if needed: thinner milks may require extra cornstarch (1 tbsp) for thickness. Vegan-friendly toppings like dark chocolate shavings or fresh berries take it further. With these tweaks, your homemade treat stays frosty and indulgent—no compromises.
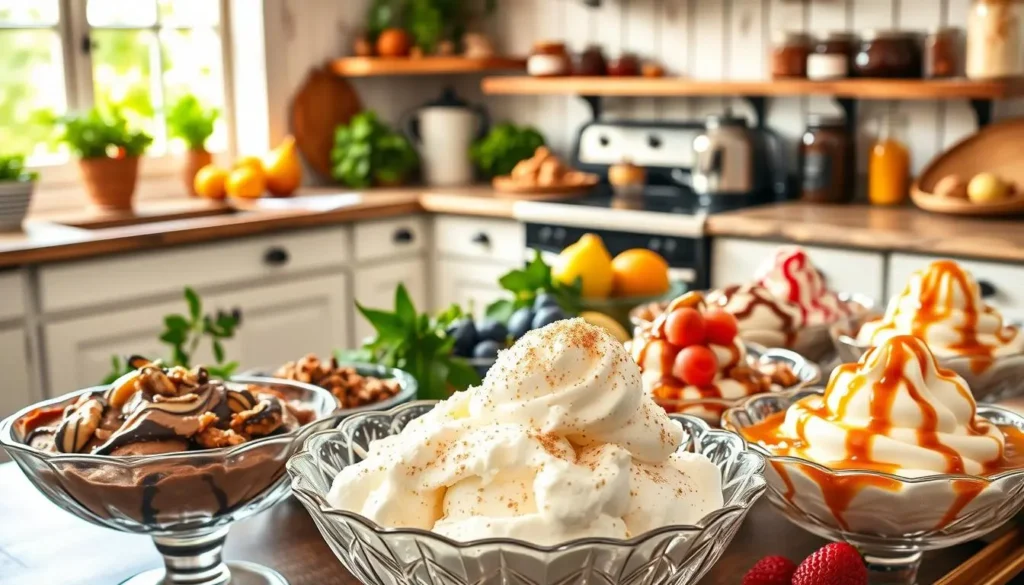
Delicious Toppings to Elevate Your Homemade Snow Cream
Make your delicious snow cream recipe stand out with the perfect toppings. These extras turn a basic treat into a personalized delight. They fit any taste or event.
Classic Toppings That Never Disappoint
Begin with classic choices that complement the creamy base:
- Chocolate or caramel drizzles for rich contrasts
- Rainbow sprinkles or crushed graham crackers for texture
- Marshmallow fluff or whipped cream for soft layers
Creative Garnishes for Special Occasions
Enhance celebrations with unique touches like:
- Edible gold or silver leaf for holiday elegance
- Fresh raspberries or mint leaves for summer-inspired twists
- Birthday cake crumbles for themed parties
Make-Your-Own Topping Bar Ideas
Set up a fun dessert station with:
- Mini jars of syrups, nuts, and fruit slices
- Miniature toppings like cookie crumbs or coconut flakes
- Theme-based setups (e.g., “Winter Wonderland” with peppermint candies)
Match toppings with your snow cream: peanut butter cups with chocolate or lemon zest with vanilla. Let everyone create their own bowl for a joyful time.
Troubleshooting Common Snow Cream Problems
Even with the best snow cream recipe, unexpected issues can arise. Here’s how to fix common problems:
- Watery texture? Add 1-2 tbsp cornstarch to thicken. Mix into the base before adding snow.
- Icy crystals forming? Use snow that’s loosely packed. Warm ingredients slightly (to 60°F) before blending.
- Flavor too mild? Double vanilla extract or stir in melted chocolate chips. Let mixtures sit 10 minutes to meld flavors.
- Melting too fast? Chill bowls in freezer 10 minutes before mixing. Serve in insulated containers outdoors.
Prevent issues by testing snow purity first—boil it if unsure. Always measure snow by volume, not weight, for consistency. For the best snow cream recipe, pair fixes with these pro tips: Use full-fat milk for body, strain snow through a sieve to remove debris, and churn 5-7 minutes longer if too soft. Adjust ratios slowly, tasting as you go. These steps ensure your final treat stays creamy, safe, and delicious every time.
How to Store Your Snow Cream for Later Enjoyment
Keeping your homemade snow cream fresh lets you enjoy it long after winter. Follow these steps to keep it tasty for weeks.
Freezer Storage Methods
Here’s how to keep your snow cream’s quality:
- Choose airtight containers or heavy-duty freezer bags to block air exposure.
- Label containers with dates and flavors to track batches.
- Leave ½ inch headspace to allow expansion as it freezes.
How Long Snow Cream Stays Fresh
Homemade snow cream stays fresh for 1-2 months. Use this guide to track freshness:
| Storage Method | Max Storage Time | Quality Signs |
|---|---|---|
| Airtight container | 2 months | No iciness, smooth texture |
| Ziplock bag | 1 month | Firm but creamy consistency |
Throw away batches with strong odors, gritty textures, or visible mold.
Reviving Stored Snow Cream
If your snow cream gets icy or stiff, try these fixes:
- Let it thaw in the fridge for 30 minutes.
- Gently stir in 1-2 tablespoons of cream or milk if dry.
- Blend briefly with a fork to redistribute texture.
Always date containers to track freshness easily.
Fun Ways to Serve Your Simple Snow Cream Recipe at Winter Gatherings
Turn your quick snow cream recipe into a festive centerpiece at gatherings. These ideas don’t need extra effort but add flair:
- Individual Sundaes: Layer snow cream in mason jars with toppings like caramel, nuts, or berries.
- Dessert Flights: Offer tiny portions of chocolate, vanilla, and fruit-infused flavors for tasting.
- Shaped Creations: Mold snow cream into stars or snowflakes using cookie cutters for visual appeal.
- Interactive Stations: Create a bar with syrups, toppings, and waffle cones for a hands-on experience.
Pair snow cream with warm drinks like:
| Drink | Pairing Idea | Example |
|---|---|---|
| Hot cocoa | Mix into floats | Top with whipped cream and mini marshmallows |
| Spiced cider | Offer as a warming contrast | Sprinkle with cinnamon |
| Sparkling cider | Use as a topping | Add a cinnamon stick garnish |
A simple quick snow cream recipe becomes a showstopper when paired with creative presentation.
For outdoor events, keep bowls in snow for natural chilling. Indoors, chill serving dishes first to slow melting. Let your creativity shine—guests will remember the surprise of snow-inspired desserts!
Conclusion: Enjoying Your Homemade Snow Cream Creation
Now you’re all set to enjoy winter with your homemade snow cream. This treat combines old-fashioned charm with new ideas, making snow into a delicious treat. You can stick to the recipe or add your own twist, like caramel or nuts.
Remember, safety and quality are key. Use clean snow from safe places, as we discussed earlier. You can also add your favorite toppings, like chocolate chips or berries, to make it special. And don’t forget to store leftovers right to keep them fresh.
Sharing snow cream with loved ones makes any snowy day special. You can try different flavors, like cookie-dough or vanilla, to match your taste. You can even use vegan milk for everyone to enjoy.
When snow falls, think of it as a chance to create. The best snow cream recipe is about tradition and making memories. Feel free to try new things, like mint or crushed cookies, and enjoy every bite. Winter’s magic is in your kitchen, waiting for you.
FAQ
What is the best snow cream recipe to try?
The top snow cream recipe uses fresh snow, milk or cream, sugar or honey, and vanilla. You can tweak the sweetness and flavor to your liking. It’s a classic treat that everyone enjoys.
How can I make an easy snow cream recipe?
For an easy recipe, mix 1 cup of snow, 1/2 cup of milk, 1/4 cup of sugar, and 1 teaspoon of vanilla. Serve it right away for a tasty treat!
Is there a quick snow cream recipe for kids?
Yes! Mix 2 cups of snow with 1/2 cup of your favorite syrup, like chocolate or fruit. It’s quick and lets you try different flavors!
Can I make a dairy-free snow cream?
Absolutely! Use plant-based milks like almond, coconut, or oat milk. This way, everyone can enjoy it, no matter their diet.
What are some traditional snow cream recipe variations?
Try adding cocoa for chocolate snow cream, real vanilla beans for vanilla bean, or fruit purees for fruit flavors. These make your snow cream even more special!
How do I store leftover snow cream?
Store it in an airtight container in the freezer. It’s best fresh, but can last up to a week. Let it thaw a bit before serving if it’s too hard.
What toppings can I use to elevate my homemade snow cream?
Top it with chocolate syrup, sprinkles, fresh fruit, or whipped cream. For fun, set up a topping bar at gatherings!
Are there any troubleshooting tips for common snow cream problems?
Yes! For watery snow cream, add more snow or adjust the liquid ratio. For icy snow, blend well and store right. Knowing the right mix is key for the perfect texture.
How can I incorporate snow cream into winter gatherings?
Serve it as sundaes, dessert flights, or snow cream bars. Add festive toppings for a memorable dessert experience for your guests!